We know speakers!
We know speakers!
Eventually your interest in making a fiberglass subwoofer box led to you to this article. We have discussed the essential points that are must when creating an fiberglass enclosure for your subwoofer. Fiberglass has many advantages over other materials, including being lightweight and non-abrasive so it won’t scratch your car’s paint job!
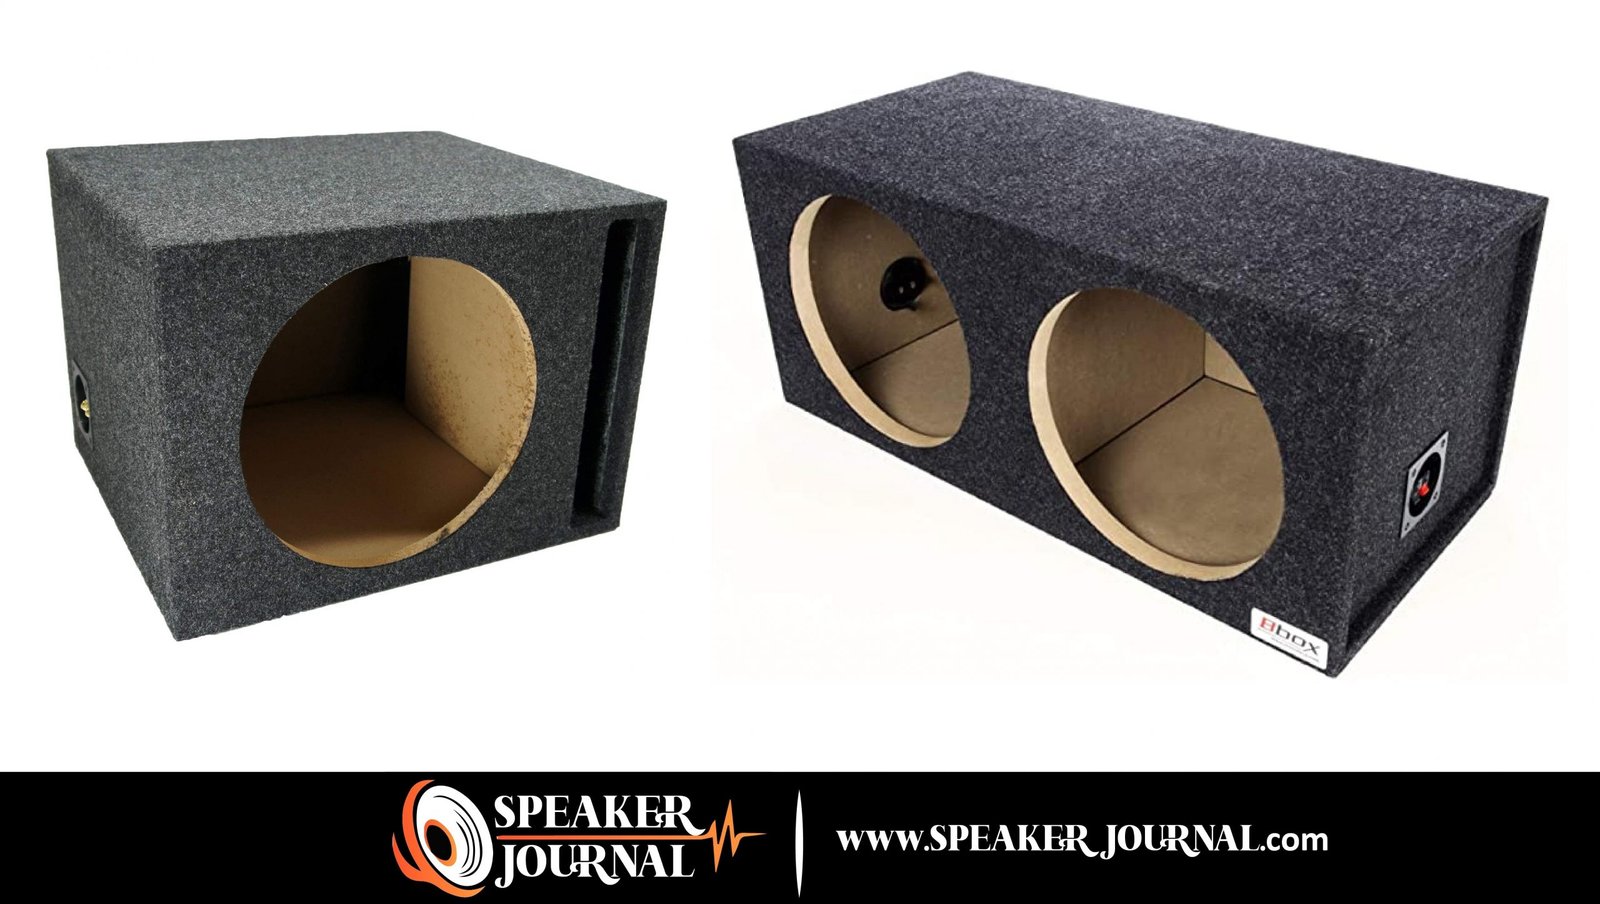
A subwoofer enclosure box is a container that contains your subwoofer. The goal of the enclosure is to keep the sound waves produced from the back and front of your speaker separate, so they do not cancel each other out, as well as keeping air bubbles pressure inside the box constant throughout playback, so no extra force pops it open or pulls it apart.
A fiberglass subwoofer box is the same as any other subwoofer fiberglass enclosure except for one important difference: fiberglass.
Fiberglass has many benefits over other materials such as aluminium and wood, including being lightweight, non-abrasive (won’t scratch your paint job), and can be moulded into any shape or size you like! A fiberglass sub box is the best for car audio system. That improves your car audio.
Depending on your preferences and how much you’re willing to spend. Fiberglass is the way to go if your goal is a lightweight, non-abrasive box that can be customized into any shape or size possible and won’t break the bank!
Fiberglass can also make an enclosure stronger than other materials such as wood; however, it’s important to note that you can not paint wood as it will absorb the resin and cause the box to fall apart!
Let’s get started with making a fiberglass sub custom box.
Read: How To Build A Subwoofer Box
Here is the Step by Step guide about a fiberglass subwoofer box. And how many layers have the speaker box.

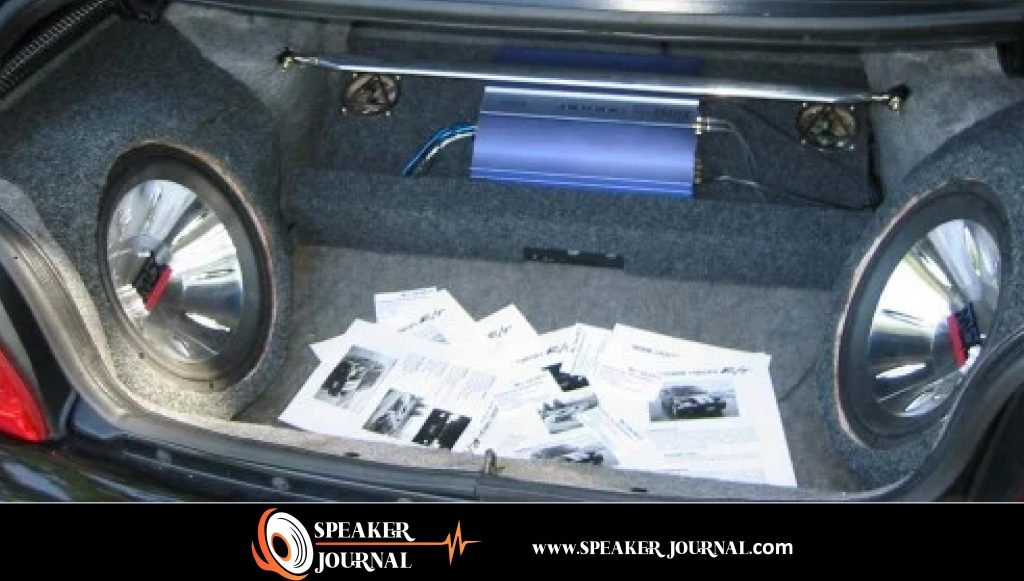
Before you begin fiberglassing your subwoofer box, it’s essential to remove everything from the trunk of your car. This includes any spare tire and tools in the back!
Make sure to wear rubber gloves before touching anything inside because the resin will leave marks on anything that is not completely dry when touched.
You may also want to wear a respirator mask as fiberglass can be extremely dangerous for your lungs.

The first step to making a fiberglass subwoofer box is taping the outside of your trunk. Use tin foil to masking tape around any areas that are not being covered in fiberglass mat or cloth, which will help prevent resin from seeping into places it shouldn’t go.
Once you have taped all of your edges and corners, smooth them out, so there are no creases or folds. This will help your box look more professional and clean!
In addition, the masking tape layer acts as a barrier to keep resin away from the car’s paint job, which means you don’t have to worry about getting fiberglass on your beautiful new vehicle.
Make sure to also masking tape up your speaker, so no resin gets inside when you’re applying layers of fiberglass. If the speaker is exposed when you’re glueing it in, the resin can seep inside and cause permanent damage.
Don’t worry about making the tape look pretty; focus on covering all of the places resin can get onto your car.

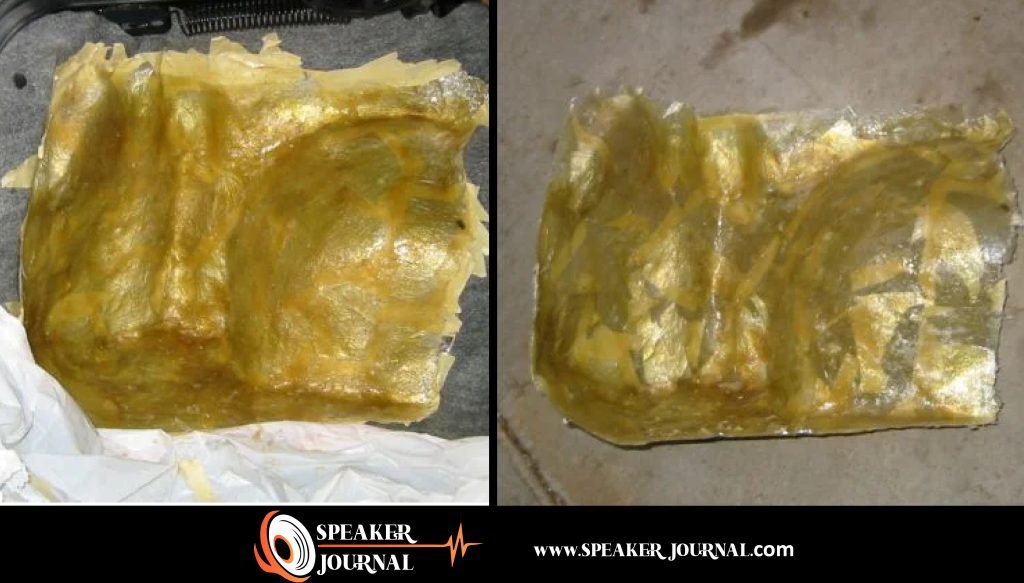
The first resin and fiberglass layer is the most crucial. This will determine how smooth your final product looks, so it’s important to apply a generous amount of resin and then cover that with as much fiberglass cloth as possible.
Make sure you’re using new razor blades for each cut because these are what you’ll be using to slice through the resin-soaked cloth later.
Once you’re done applying fiberglass, let it dry for about 30 minutes to an hour before moving on with the next step! The longer you leave this layer drying with hair dryer, the smoother your final product will be, so don’t rush this step!
We recommend starting in one corner of your trunk and working your way around the box to make sure you get a smooth finish.
After all of your resin has been dried, it’s time to remove the tape! Carefully peel up as much tape as you can, and then use a razor blade to cut off any extra pieces.
After the first layer of resin has been applied and dried, adding additional glass is time. This step will build upon your previous one, so make sure you apply a generous amount before moving on!
It is important to note that not all fiberglass cloth comes with resin already soaked into it; if this is the case, you will have to apply the resin before starting this step.
Once your cloth is laid out, use a razor blade to cut holes for the speaker and any other items that are being mounted in the box. The more precise you can get with these cuts, the better!
You may also want to add extra fiberglass around areas that will be receiving a lot of impacts, such as the corners or edges.
This additional glass will help reinforce these weak spots that are under a lot of pressure.
Before your final resin layer is applied, you’ll want to go ahead and trim the excess fabric off. This step may vary depending on what kind of fiberglass cloth you used, so make sure you refer back to your original box design!
Most commonly, it’s necessary to use a razor blade or scissors for this task because once again, you want to make sure the cloth is cut as closely and precisely as possible.
At this point, there should be very little excess fabric that can be trimmed off. You want to make sure you don’t cut too much, as this will damage the quality of your box, and it may not sound as great as you’d like it to!
Before you apply the final resin layer, plan out how you will work around any obstructions in your subwoofer box. These can include things like mounts or screws, so make sure they’re accounted for!
The last thing you want is to have an obstruction inside of your fiberglass layers which will cause your subwoofer box to sound terrible. It’s also important that this resin layer is applied as evenly and precisely as possible, so you don’t have any bumps or lumps anywhere!
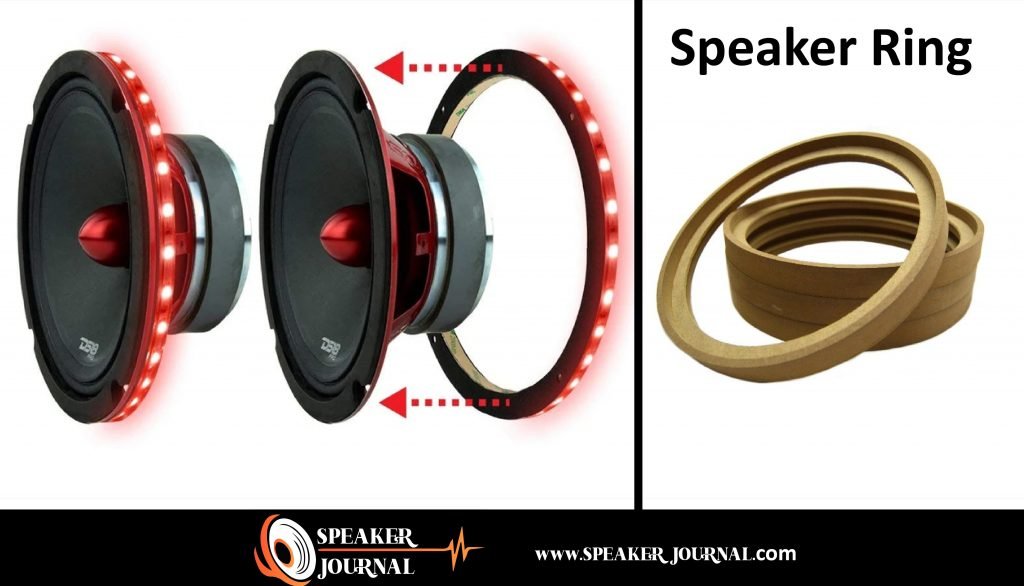
If you’re using speaker ring, now is the time to put them in your subwoofer box. The most common materials for speaker ring are plastic or rubber, and they help to protect your speakers from any sharp edges that may be inside of the box.
Also Read: Increase Your Car Speaker’s Decibel and Quality with Foam Speaker Rings
Now that your fiberglass subwoofer box is complete, it’s time to position it in the car! However, you decide to do this is up to you but make sure not to damage any of your newly added layers.
Once everything has been figured out and positioned correctly, you should be able to turn on some music or a bass-heavy song and press your subwoofer up against the box to see if there’s any rattling. If you hear anything, you’ll have to apply some additional layers of fiberglass until you’re satisfied with the sound.
Fleece is commonly used as a way to cover up any fibers that may stay behind after the resin has dried. This material can be found at any local hardware store, and all you have to do is place it over your box once the resin has dried.
Fiberglass cloth is a great material for making subwoofer boxes because it’s inexpensive and easy to find. However, other types of materials can be used for this purpose, including things like MDF or particle boards.
It’s important to note that not all fiberglass cloth comes with resin already soaked into it; if this is the case, you will have to apply the resin before starting this step.
Once your cloth is laid out, use a razor blade to cut holes for the speaker and any other items that are being mounted in the box. The more precise you can get with these cuts, the better!
Fiberglass is a great material for building subwoofer boxes because it’s inexpensive and easy to work with.
Before your final resin layer is applied, you’ll want to go ahead and trim the excess fabric off. You may use a Dremel tool or something similar to pry open the surround and trim it as near to the MDF speaker rings as possible.
Once your sub box is complete, it’s important to wire up a couple of connections before running any power.
There are two major types of wiring that you will want to consider: push-on terminals and ring terminals. These come in many different sizes, so make sure they fit the gauge of speaker cable you’re planning to use.
Before you prime and paint your subwoofer box, it’s important to sand down any rough edges or surfaces that may not have been properly covered.
Using either medium-grit sandpaper (around 80) or an electric sander with the same grit, start working on each surface until they’re all smooth and even.

Now that your subwoofer box is complete, you’ll need to prime and paint it before installing any additional components.
Before you begin installing your subwoofer, it’s important to test the volume of this box in an “empty” state.
Make sure everything is wired up correctly, and then turn on some music while pressing against the box with one hand. If you can hear enough volume any rattling or if there are bumps that seem off-balance, you’ll need to apply additional layers of fiberglass and polyester resin until the sound is balanced.
Now that your fiberglass subwoofer box is complete, you can finally crank up the music! Were you enjoying a new car or truck with an amplifier and some speakers?
Just make sure everything sounds balanced before taking it out on the road. Feel Free to get in touch with us if anything seems off-balance after applying additional layers of resin and fiberglass.
Fiberglass subwoofer enclosures may also be designed to match the rest of the vehicle; this gives a more attractive audio car setup. Furthermore, fiberglass enclosures for subwoofers are a lot lighter than wooden ones.
The first benefit that comes to mind is durability. Fiberglass subwoofer enclosures are a lot more durable than wooden ones. They can also be painted in any colour of choice; this is something that is impossible with wooden subwoofer enclosures.
The biggest disadvantage of fiberglass subwoofer enclosures (and the reason that some people prefer wooden ones) is their weight. Fiberglass boxes are a lot heavier than their wooden counterparts.
A fiberglass subwoofer box, also known as a custom fiberglass enclosure, is an audio accessory that improves the sound quality of subwoofers.
COPYRIGHT © 2021 · SPEAKERJOURNAL.COM, ALL RIGHTS RESERVED. WE ARE A PART OF THE AMAZON AFFILIATE PROGRAM. IF YOU BUY SOMETHING WITH OUR LINK WE GET A SMALL AMOUNT FROM AMAZON WITHOUT CHARGING YOU ANY ADDITIONAL AMOUNT. HOWEVER, WE DO UNBIASED REVIEWS. WE DISCUSS BOTH THE PROS AND CONS OF PRODUCTS SO THAT YOU CAN DECIDE WHETHER TO BUY OR NOT.